How to Remove Scratches from a Chef Knife: A Safe Step-by-Step Guide
Quick Answer
To remove scratches from a chef knife, first wash and dry the blade, then identify whether the marks are surface residue, fine scratches, or deep grooves. Clean superficial marks with a soft cloth and mild dish soap; for suitable stainless steel blades, use a compatible non-abrasive metal polish or very fine polishing material only if the manufacturer permits it. Avoid abrasive pads, aggressive sanding, and the cutting edge. Deep scratches, decorative finishes, and Japanese knives with special coatings may need professional attention.
How to Remove Knife Scratches Safely
- Clean the blade: Wash with warm water and mild dish soap, rinse, and dry with a soft cloth.
- Inspect the marks: Check whether they disappear after cleaning or remain visible in the steel.
- Choose a gentle method: Start with a microfiber cloth and avoid unnecessary abrasion.
- Polish cautiously: Use a compatible, food-contact-appropriate product only when the blade finish allows it.
- Rinse and dry: Remove all cleaner or polishing residue before using the knife for food.
- Protect the finish: Store the knife separately from other utensils and use a suitable cutting board.
Important Safety Tip
- Protect the edge: Keep fingers away from the cutting edge and never polish across it carelessly.
- Know when to stop: Deep grooves, rust pits, chipped edges, and specialty finishes may require professional repair.
A scratched chef knife can look worn even when it still cuts well, but not every mark requires repair. I approach knife care by identifying the damage first, because the wrong polishing method can leave a blade looking worse than before.
In this guide, I’ll explain how to remove scratches from a chef knife, which cleaning supplies are suitable, and when polishing is better left to a professional. You’ll also learn how to protect the finish and prevent new marks from appearing.
What Causes Scratches on a Chef Knife?
Chef knife scratches are marks or grooves in the blade surface caused by contact with abrasive materials, other utensils, or unsuitable cleaning tools. Some marks are superficial, while others remove steel and permanently alter the blade’s original finish.
Identifying the cause helps you choose a repair method that won’t create additional damage.
- Metal-on-metal contact: Loose utensils, other knives, and metal racks can leave visible lines on a blade.
- Abrasive cleaning: Steel wool, rough scouring pads, and gritty cleaners can create fine scratches.
- Hard surfaces: Accidental contact with stone counters, ceramic surfaces, or other hard objects may mark the blade.
- Improper storage: A knife moving freely inside a drawer can rub against other tools.
- Previous sharpening: Abrasive sharpening equipment can leave scratches when it contacts the blade above the cutting bevel.
Scratches also reveal differences in blade construction. A satin-finished stainless steel knife may tolerate careful cosmetic polishing, whereas a Damascus-patterned, coated, or highly polished blade can lose its intended appearance if you use the wrong abrasive.
Can You Remove All Scratches from a Chef Knife?
You can often improve the appearance of light scratches, but you cannot safely remove every scratch without affecting the blade. Deep grooves require removing surrounding steel until the surface becomes level, which can change the blade’s thickness, geometry, and finish.
Before attempting a repair, distinguish between three common types of marks.
| Type of mark | What it looks like | Recommended response |
|---|---|---|
| Surface residue | Gray streaks or transfer marks that may wipe away | Clean gently with soap and a soft cloth. |
| Fine scratches | Thin lines visible under bright light | Consider compatible, gentle polishing if the finish permits it. |
| Deep scratches or pits | Pronounced grooves, craters, or missing material | Seek professional assessment instead of aggressive home sanding. |
One useful check is to clean the blade before judging its condition. If a mark disappears, it was probably residue rather than a scratch in the steel.
Don’t run a fingertip along the cutting edge to investigate damage. Inspect the blade visually under good lighting, with the knife secured and its edge directed away from your hands.
How Do You Remove Scratches from a Chef Knife Step by Step?
 Save
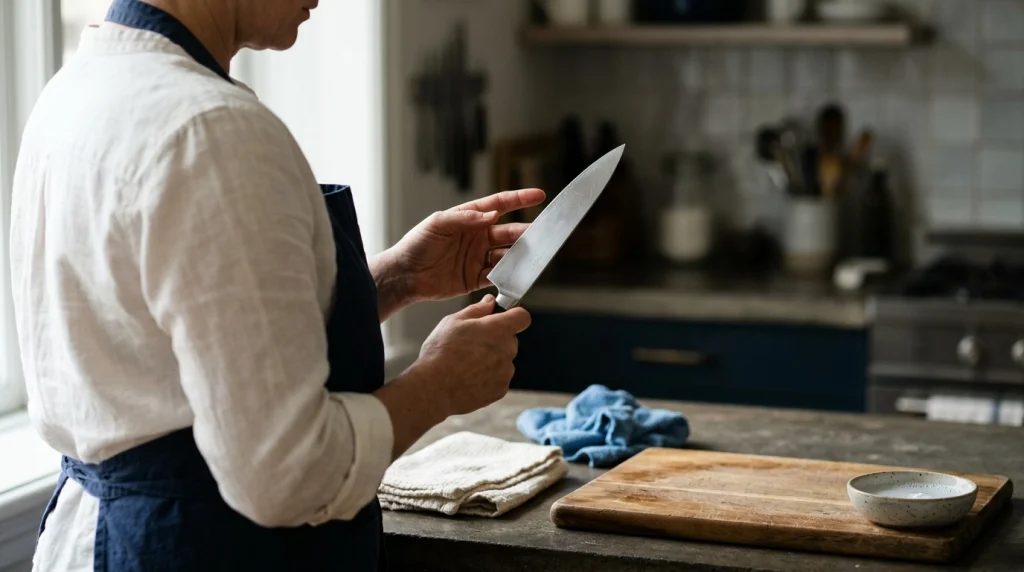
The safest method begins with cleaning and progresses only as far as necessary. For most home cooks, removing residue and protecting the existing finish should come before attempting to polish away visible lines.
Step 1: Wash and Dry the Knife
Start by removing food residue, grease, and loose particles that might interfere with cleaning. Use warm water, mild dish soap, and a soft sponge, keeping the blade pointed away from your fingers.
- Wash both sides of the blade gently.
- Rinse away all soap and food residue.
- Dry immediately with a clean microfiber cloth or soft towel.
- Inspect the dry blade under bright, indirect light.
Hand washing is preferable to using a dishwasher for most quality chef knives. Dishwashers expose blades to harsh detergents, heat, moisture, and possible contact with other utensils.
For additional care advice, see the manufacturer’s knife cleaning recommendations.
Step 2: Check Whether the Scratch Is Actually in the Steel
After cleaning, rotate the knife slowly under a light source without moving your fingers near the edge. A mark that remains visible at different viewing angles may be a genuine scratch rather than dirt or transferred metal.
Pay attention to the direction of the lines, too. Long, parallel marks may follow the blade’s satin finish, while random crosswise lines can indicate contact with utensils or abrasive cleaning tools.
If the knife has a black coating, printed markings, a Damascus pattern, or a mirror-polished finish, stop before using polishing compounds. Even a product designed for stainless steel may change these surfaces.
Step 3: Try a Soft Cloth Before Using Polish
Use a clean microfiber cloth to wipe the blade gently, following the direction of the existing finish when practical. This removes loose particles without introducing the additional abrasion associated with scouring pads.
For stubborn surface residue, use a small amount of mild dish soap rather than increasing pressure. Rinse and dry the blade again before deciding whether the scratch needs further treatment.
At this stage, avoid rubbing aggressively. A scratch in the metal won’t disappear simply because you scrub harder.
Step 4: Use a Compatible Metal Polish Only When Appropriate
A non-abrasive or very fine metal polish may improve superficial marks on some plain stainless steel blades. However, the product must be suitable for the particular steel and intended finish, and all residue must be removed before the knife returns to food preparation.
- Check the knife manufacturer’s care instructions first.
- Confirm that the polish is suitable for the blade material and food-contact use after cleaning.
- Test a tiny amount on an inconspicuous area away from the cutting edge, if the manufacturer permits testing.
- Apply minimal pressure with a soft cloth and follow the product instructions.
- Stop immediately if the finish becomes cloudy, uneven, or visibly different.
- Wash, rinse, and dry the blade thoroughly before use.
Do not assume that every product labeled metal polish is appropriate for kitchen knives. Some compounds contain abrasives or chemical ingredients that may damage a finish or leave unsuitable residues.
WÜSTHOF’s official website is a useful starting point for checking care guidance for its knives. For other brands, consult the instructions supplied with your particular model.
Step 5: Decide Whether Professional Polishing Is Necessary
If a scratch remains deep or highly visible after gentle cleaning, don’t immediately reach for sandpaper. Removing enough steel to level a groove can require refinishing a much larger section of the blade to achieve a consistent appearance.
A professional knife sharpener or blade-restoration specialist can assess whether the mark can be reduced without compromising the blade. Ask whether the proposed work will change the original finish, blade geometry, or any manufacturer’s warranty coverage.
Which Methods Should You Avoid When Removing Knife Scratches?
The biggest mistake is treating a chef knife like an ordinary stainless steel kitchen sink. A knife has a precision cutting edge and may have a carefully applied surface finish that aggressive cleaning can damage.
- Steel wool: Coarse metal fibers can create additional scratches and leave unwanted metal particles behind.
- Rough scouring pads: Their abrasive surfaces may dull a satin finish or create uneven polishing marks.
- Coarse sandpaper: It removes steel quickly and can create visible flat spots or inconsistent finishes.
- Power grinders: High-speed abrasion can remove too much material and generate heat that damages the blade’s temper.
- Unverified chemical cleaners: Harsh chemicals may discolor the steel, damage coatings, or leave residues.
- Excessive sharpening: Sharpening restores a cutting edge; it is not a substitute for cosmetic blade polishing.
Baking soda is sometimes suggested as a household abrasive, but it is not a universal scratch remover. Rubbing a paste across a delicate finish can still change its appearance, so use it only when the knife manufacturer specifically permits that method.
Also avoid using a knife on glass, stone, or ceramic cutting boards. These surfaces are hard enough to damage the cutting edge, even if they don’t immediately produce obvious scratches on the flat sides.
Does the Type of Chef Knife Change the Repair Method?
Yes. The blade material, surface treatment, and original finish matter more than the knife’s price or appearance alone.
| Knife type | Main concern | Safer approach |
|---|---|---|
| Plain stainless steel | Fine scratches and dull-looking streaks | Clean first; use compatible polishing only if approved. |
| Carbon steel | Scratches, oxidation, and patina | Clean and dry promptly; distinguish patina from actual damage. |
| Damascus-patterned steel | Removing or altering the visible pattern | Avoid home abrasives; ask a specialist about refinishing. |
| Coated or colored blades | Wearing through the surface coating | Use gentle cleaning and follow the manufacturer’s instructions. |
| Mirror-polished blades | Haze and uneven reflections | Leave noticeable refinishing work to a professional. |
Carbon steel deserves particular attention because its surface can develop a patina, which is a layer of discoloration that forms through reactions with food and the environment. A uniform gray or blue-gray patina is not necessarily a scratch or rust.
Reddish-brown spots, rough pits, or material missing from the blade need a different assessment. Cleaning may remove superficial rust, but deep corrosion requires more careful evaluation.
How Can You Prevent Scratches on a Chef Knife?
Preventing scratches is usually easier than restoring a blade’s original finish. A few simple storage and cleaning habits can significantly reduce unnecessary contact with abrasive materials.
- Use a blade guard: A properly fitted guard protects the knife when stored in a drawer.
- Choose a suitable knife block: Keep the slots clean and dry so trapped debris doesn’t rub against the blade.
- Store knives separately: Don’t let the blade knock against other utensils or cookware.
- Use a wooden or plastic board: Avoid hard glass, ceramic, and stone surfaces for routine cutting.
- Wash by hand: Use mild soap and a soft sponge instead of harsh abrasive cleaners.
- Dry immediately: Remove moisture before putting the knife away.
- Use a bench scraper: Move chopped food with a scraper or the knife’s spine rather than dragging the cutting edge sideways.
In my view, storage is one of the easiest parts of knife care to overlook. A knife can be cleaned perfectly after every meal and still develop new marks if its blade repeatedly contacts other metal tools in a drawer.
For further guidance on edge maintenance, see how to sharpen a chef knife and how to maintain a stainless steel chef knife.
When Should You Repair or Replace a Scratched Chef Knife?
 Save
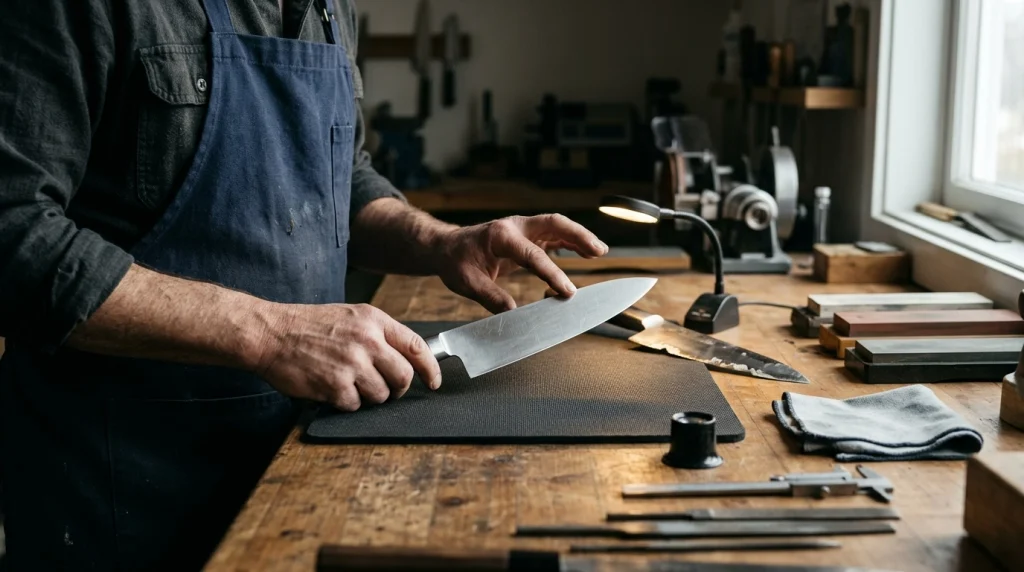
Cosmetic scratches alone rarely mean you need a new knife. If the blade remains structurally sound and cuts properly, keeping it clean and protected may be all that’s necessary.
However, stop using the knife and seek professional assessment if you notice any of the following:
- Deep corrosion or pitting that creates rough cavities in the steel.
- Cracks, significant chips, or a visibly bent cutting edge.
- A loose handle or a gap where food and moisture can collect.
- Damage that changes the blade’s shape or makes it difficult to control.
- A coating that is peeling or flaking into the food preparation area.
Professional repair may be worthwhile for a high-quality knife, especially if the damage affects only a small area. Compare the repair cost with replacement cost, but don’t judge the decision by appearance alone.
For a valuable knife under warranty, contact the manufacturer before attempting abrasive repairs. Home polishing can make it harder to establish the original condition and may affect warranty coverage.
What Tools Help You Care for a Scratched Chef Knife?
You don’t need a large collection of specialized products to maintain a chef knife. Start with a few basic items, then add equipment only when the blade’s condition and manufacturer’s instructions justify it.
If you’re building a simple knife-care kit, these are three practical options to consider.
Everyday Essential
Microfiber Cleaning Cloth
★★★★★
A soft, clean microfiber cloth helps remove moisture, fingerprints, and light residue without the harsh abrasion of a scouring pad. I’d make this the first purchase for routine knife care.
For Edge Maintenance
KING KW65 Combination Whetstone
★★★★☆
This combination sharpening stone is intended for maintaining a cutting edge, not for cosmetic scratch removal. I’d consider it when a knife needs sharpening and the owner is ready to learn controlled, careful technique.
Best for Safe Storage
Kitchen Knife Blade Guard
★★★★☆
A correctly sized blade guard helps keep a chef knife from rubbing against utensils in a drawer. I’d choose one that fits securely, stays clean and dry, and covers the entire cutting edge.
These products serve different purposes, and none guarantees that an existing scratch will disappear. Check compatibility, dimensions, and manufacturer instructions before buying, especially if your knife has a specialty finish.
Frequently Asked Questions
Can toothpaste remove scratches from a chef knife?
Toothpaste is not a reliable universal scratch remover for chef knives. Some formulas contain abrasives that may alter a satin or polished finish, while others may do little to a genuine scratch. Start with mild soap and a soft cloth, and use only a manufacturer-approved polishing method when necessary.
Can I use sandpaper to remove scratches from a chef knife?
Sandpaper can remove steel and change the blade’s finish, so it isn’t a good starting point for home scratch removal. Coarse grades can leave deeper marks, while even fine grades may create an uneven appearance. For noticeable scratches, consult a blade-restoration professional before attempting to refinish the knife.
Does polishing a chef knife make it sharper?
Cosmetic polishing and sharpening are different processes. Polishing improves the appearance of a blade’s flat surfaces, while sharpening removes steel at the cutting bevel to restore the edge. A polished knife may still be dull, and an effective cutting edge does not need a scratch-free blade surface.
Can scratches on a chef knife cause rust?
A scratch does not automatically cause rust, but damage to a protective coating or the presence of moisture can increase corrosion risk. Wash and dry the blade promptly, particularly after cutting acidic or salty foods. If you find deep pits or persistent corrosion, seek professional advice rather than aggressively sanding the area.
How do I remove scratches from a Damascus chef knife?
Start with gentle hand washing and a soft cloth, then stop if the scratches remain. Abrasive polishing can change the contrast and pattern of Damascus steel, potentially damaging its decorative finish. A specialist familiar with Damascus blades can determine whether refinishing is possible without compromising the pattern or blade geometry.
Final Takeaway: Keep Your Chef Knife Clean, Protected, and Sharp
Learning how to remove scratches from a chef knife starts with identifying the mark and choosing the least aggressive treatment. Wash the blade, inspect it under good lighting, and try gentle cleaning before considering a compatible polish.
Don’t chase a perfect finish at the expense of the steel. Deep scratches, specialty patterns, coatings, and corrosion pits deserve professional attention when home treatment could cause further damage.
For everyday care, use a suitable cutting board, dry the blade after washing, and store it where it cannot strike other utensils. These simple habits help preserve both the appearance and cutting performance of your chef knife.